Getting started with NFTs for the price of a few coffees
30 January 2022
Blockchain and web3 technologies are rapidly becoming mainstream and may soon be as important as web2 is today. Therefore, I think everybody should interact with these technologies a little, just to see how they work and what can be done with them. And, irrespective of what you may think about the artistic and/or monetary value of the NFTs currently sold, NFTs are a great way to explore and learn about this space in a fun and low-stakes environment. In particular, the Tezos ecosystem is a great starting point for beginners, as transaction fees are low and a lot of interesting art is being sold at reasonable prices. On Tezos, for the price of a few coffees, you can acquire or mint some NFTs and in the process learn a lot about web3.
But first, let’s get one common objection out of the way. You may have heard that NFTs are bad for the environment, are “burning up the planet,” or similar. But this is definitely not the case on Tezos. Tezos is a proof-of-stake blockchain, which means that energy requirements are minimal. Do you have concerns about the energy use of writing emails, watching YouTube, or to reading this blog? If not, then you shouldn’t have any concerns about the energy use of buying or selling NFTs on Tezos either.
Disclaimer: Nothing in this post is investment advice. I am not endorsing any particular artist or artwork, and I would discourage you from buying any NFTs for investment purposes. If you buy an NFT, do so because you want to support the artist or you like the art, or because you want to learn about blockchain technology. You need to be prepared that any NFT you buy will be worthless in the future, and you should only spend money you can afford to lose.
Setting up a wallet
In web2, to do anything interesting, you generally need a user account on every website you visit. You have an account on Google, another one on Twitter, one on Facebook, one on Netflix, and so on, and all of these accounts are completely separate. You may have used the same username or email address to sign up, but the accounts are individually managed by each website.
In web3, the workflow is entirely different. There, you have an identity that is independent of any specific site, and you use that identity to log into sites and perform transactions. This identity is called a “wallet.” You need to set up a wallet before you can do anything else. The wallet holds all your crypto assets, and it is also used to verify credentials or to sign ballots in community votes. When you first encounter this mechanism, it will feel very alien, but after a while you will start to appreciate that you don’t have to constantly create new login credentials on different sites. However, this also means the stakes are somewhat higher. Your wallet can be quite valuable and you must secure it appropriately.
A second aspect to wallets that you may find alien initially is that they are entirely public. Anybody can see the contents of any wallet, as well as the full record of transactions from when the wallet was originally created until today. This is the case because blockchains are public ledgers, and their entire purpose is to store exactly which wallets hold which assets. All you hold in your direct possession are the keys needed to unlock the assets in a wallet and transact with them. Think of a blockchain as a gigantic public database that anybody can read from and anybody can write to. However, you can only write to the parts to which you hold appropriate keys.
You may have heard terms such as hot wallet, cold wallet, hardware wallet, software wallet. What we will set up here is a software or hot wallet, where the keys are directly stored on your computer. This setup isn’t too safe, but it is very convenient, and most people who use blockchains regularly have a hot wallet for frequent small transactions. You can keep the more valuable assets in a hardware or cold wallet, where the keys are kept in a separate device that is never connected to the internet. However, it only makes sense to invest in a hardware wallet if the funds you’re securing are several multiples of the cost of a hardware wallet, which can run anywhere from $60 to $150. (For the Tezos blockchain, the preferred hardware wallet is a Ledger.) As a complete blockchain beginner, it’s Ok not to worry about getting a hardware wallet right away.
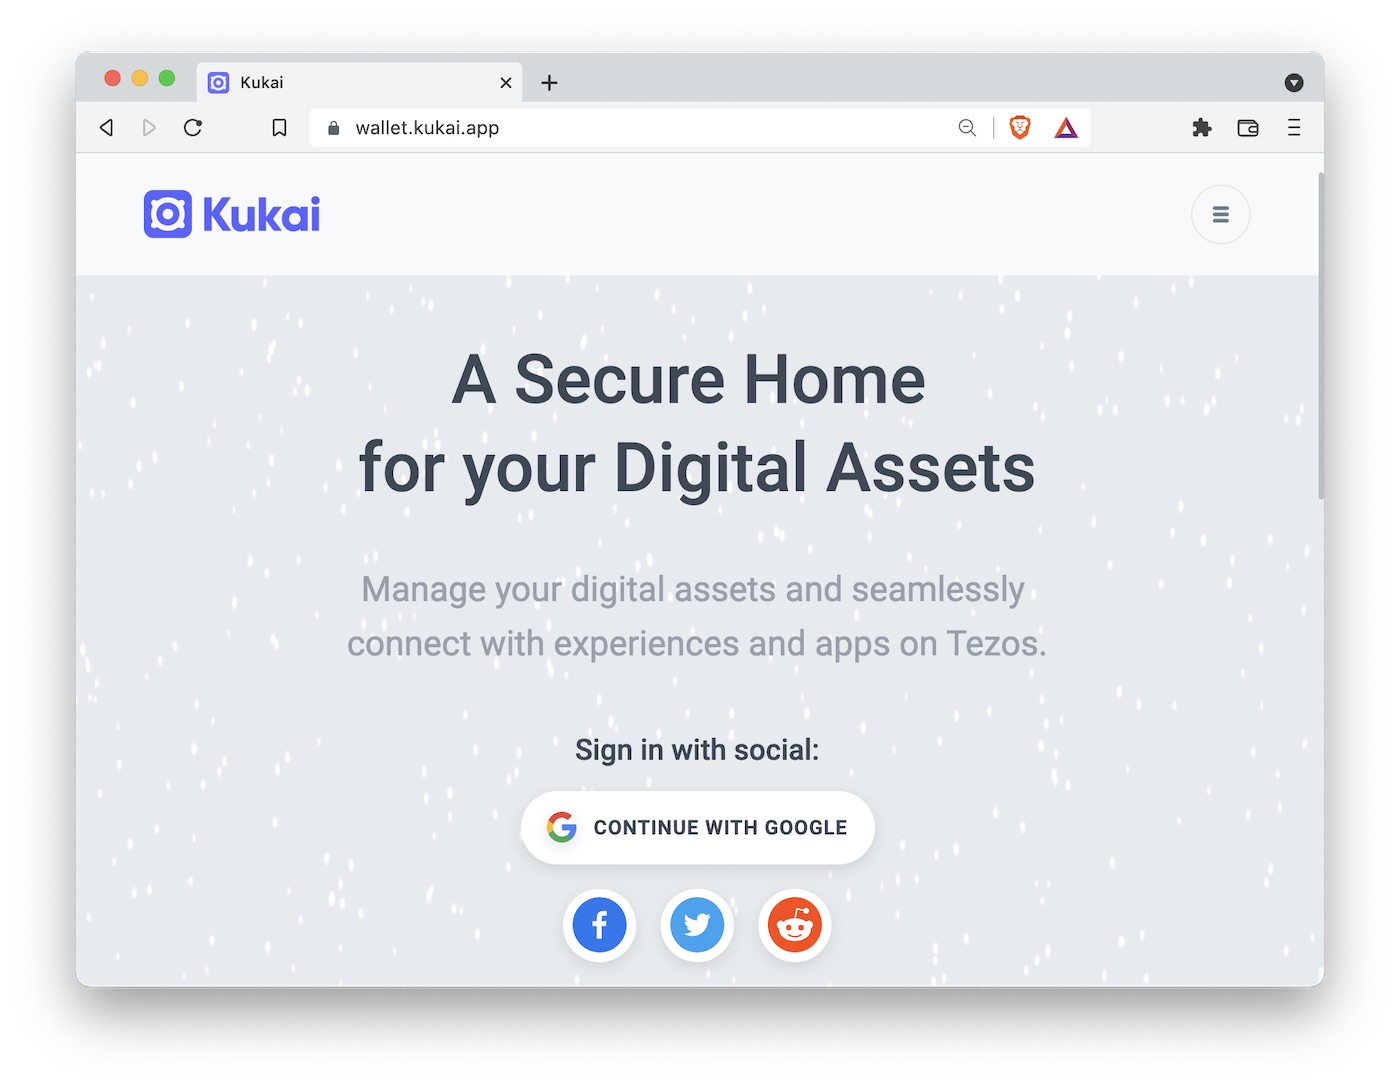
Now that you understand the key concepts, let’s go ahead and make a wallet. On Tezos, two popular options for wallets are Temple Wallet and Kukai. I personally use Kukai and that’s what I will describe in this post.
When you go to the Kukai page, you will see a big inviting button that encourages you to continue with Google or some other popular web2 site. You could do this, and for the purpose of just figuring out how this blockchain thing works it’s probably good enough. However, you’ll be missing an important component of how wallets are set up, secured, and recovered at a future point in time, and therefore I’ll walk you through the crypto-native approach of creating a wallet. (For another good reason not to connect your wallet to a web2 account, see here.)
In the menu on the top right of the Kukai app, you will find an option called “Create New Wallet.” Click on it. The next page will ask you to back up your seed, and in the middle of the page you will see blurred words with an option to reveal them. These words, 24 of them, also called a “seed phrase,” will look something like this:
define two broken lunch slow water genius provide panda praise loyal beauty prevent armed volume indoor alone tide donate phone old moment below brother
Take a piece of paper and a pen and write them down. They are literally the keys to your kingdom, and you should never share them with anybody, never store them on a computer, and never enter them into a website. Anybody who asks you for your seed phrase is a scammer who wants to steal from you.
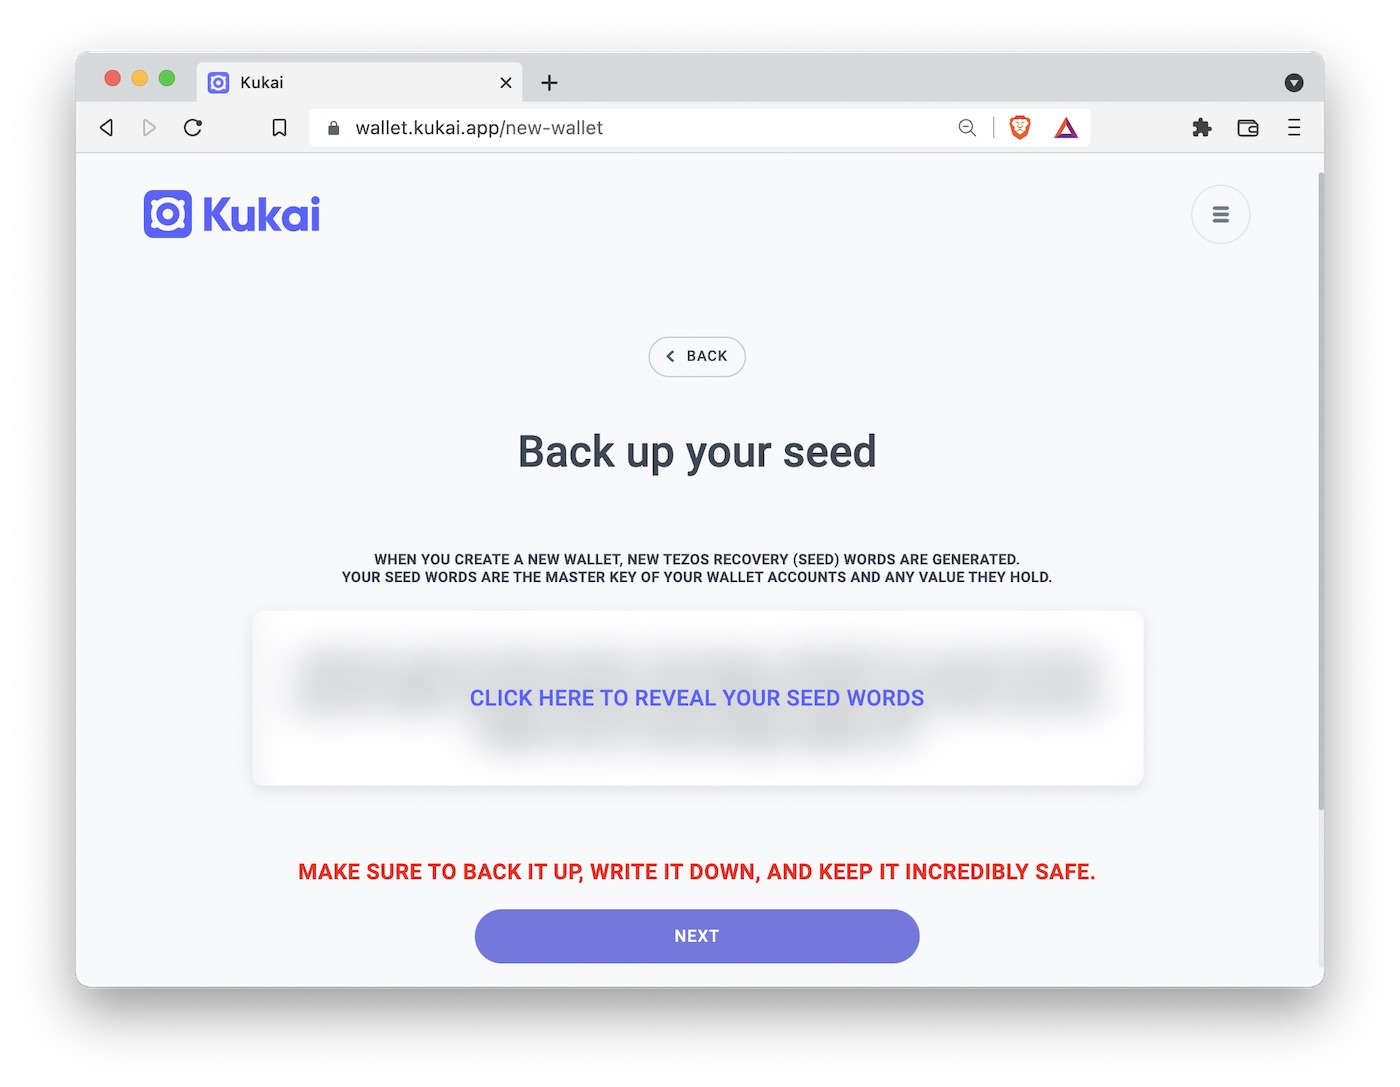
The seed phrase should always be stored in physical form away from a computer. If you’re just trying things out, keeping it on a piece of paper in a drawer under your desk is probably good enough. The next step up in security would be to keep the seed phrase in a safe deposit box at a bank. Or you could etch it into a piece of metal and bury on public land. Yes, people do this.
Next, Kukai will ask you to verify your seed phrase, to make sure you wrote it down properly. Once you have done so, Kukai will ask you to set a password. This is a regular password you will use every day when interacting with Kukai, and you can store it in a password manager for simplicity.
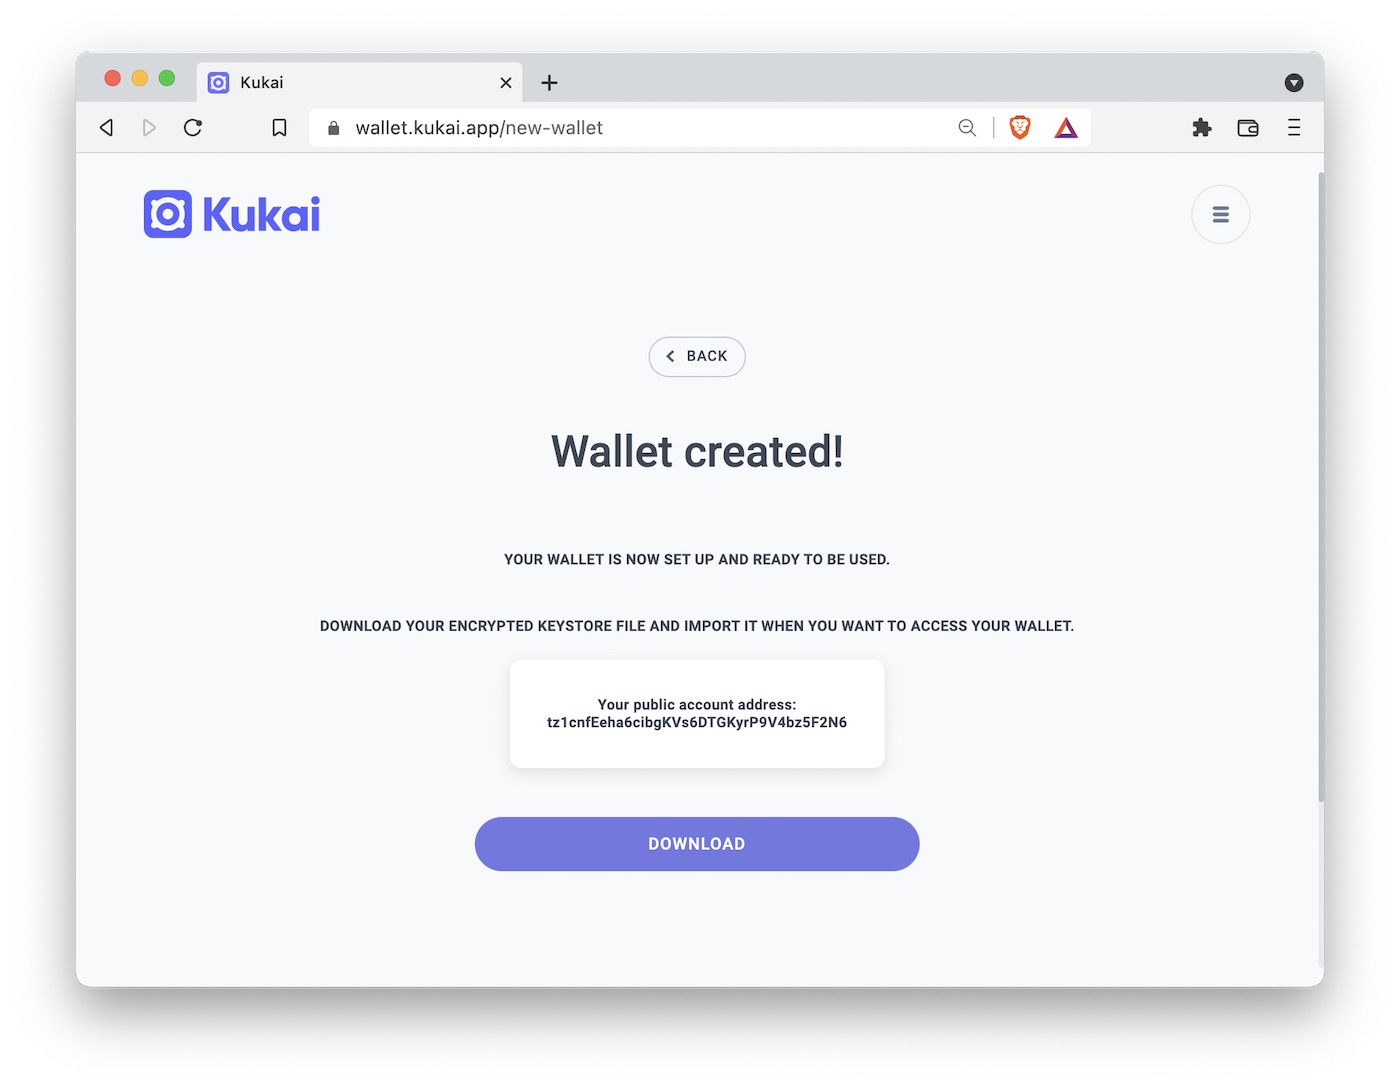
Kukai will then create your public account address and provide you with the option to download an encrypted keystore file. You should note down the public address (it is public, so it doesn’t have to be kept secret) and download the keystore file. Please note that the keystore file is an alternative backup option to recover your wallet, and you should treat it accordingly. Keep it secure somewhere where you can find it again. Since it is encrypted and password protected, you don’t have to worry as much about where you keep it. Uploading it to Dropbox or Google Drive or similar is probably fine. In the future, as long as you have either your keystore file or your seed phrase, you will be able to recover your wallet and move your funds.

Now, if you are paranoid like me, you will immediately test whether wallet recovery actually works. To this end, click on “Logout” in the Kukai wallet menu (top right), and then select “Import Wallet.” There, you see the option of using either a keystore file or seed words. Try the keystore file first. Once you have uploaded and unlocked it, you should be back to your same wallet address. (You can see the full wallet address by clicking on the menu in the top right corner and then on either “Copy” or “QR.”) If this mode of recovery worked fine, now try the seed phrase. Select “Seed Words” in the “Import Wallet” section, enter the seed phrase, and go from there. You will see that you will again have to create a keystore file, and once you have downloaded it you’ll be back to your wallet.
If you have been paying attention, you may have noticed a contradiction here. I said you should never enter your seed phrase into a website, and then I had you enter it into Kukai app to recover your wallet. Both statements are true. You should never enter your seed phrase into a website, but you have to enter it into your wallet software to recover your wallet. This is a problem that is solved with hardware wallets, and it’s also a good reason to use the keystore file for wallet recovery whenever possible. Only keep the seed phrase as a recovery mechanism of last resort. And also, always make sure you are actually using the correct site. Don’t use Google to get to your wallet (some malicious actor might have hijacked Google ad words to try to send you to their fake wallet). Enter the address manually (kukai.app) or use a bookmark.
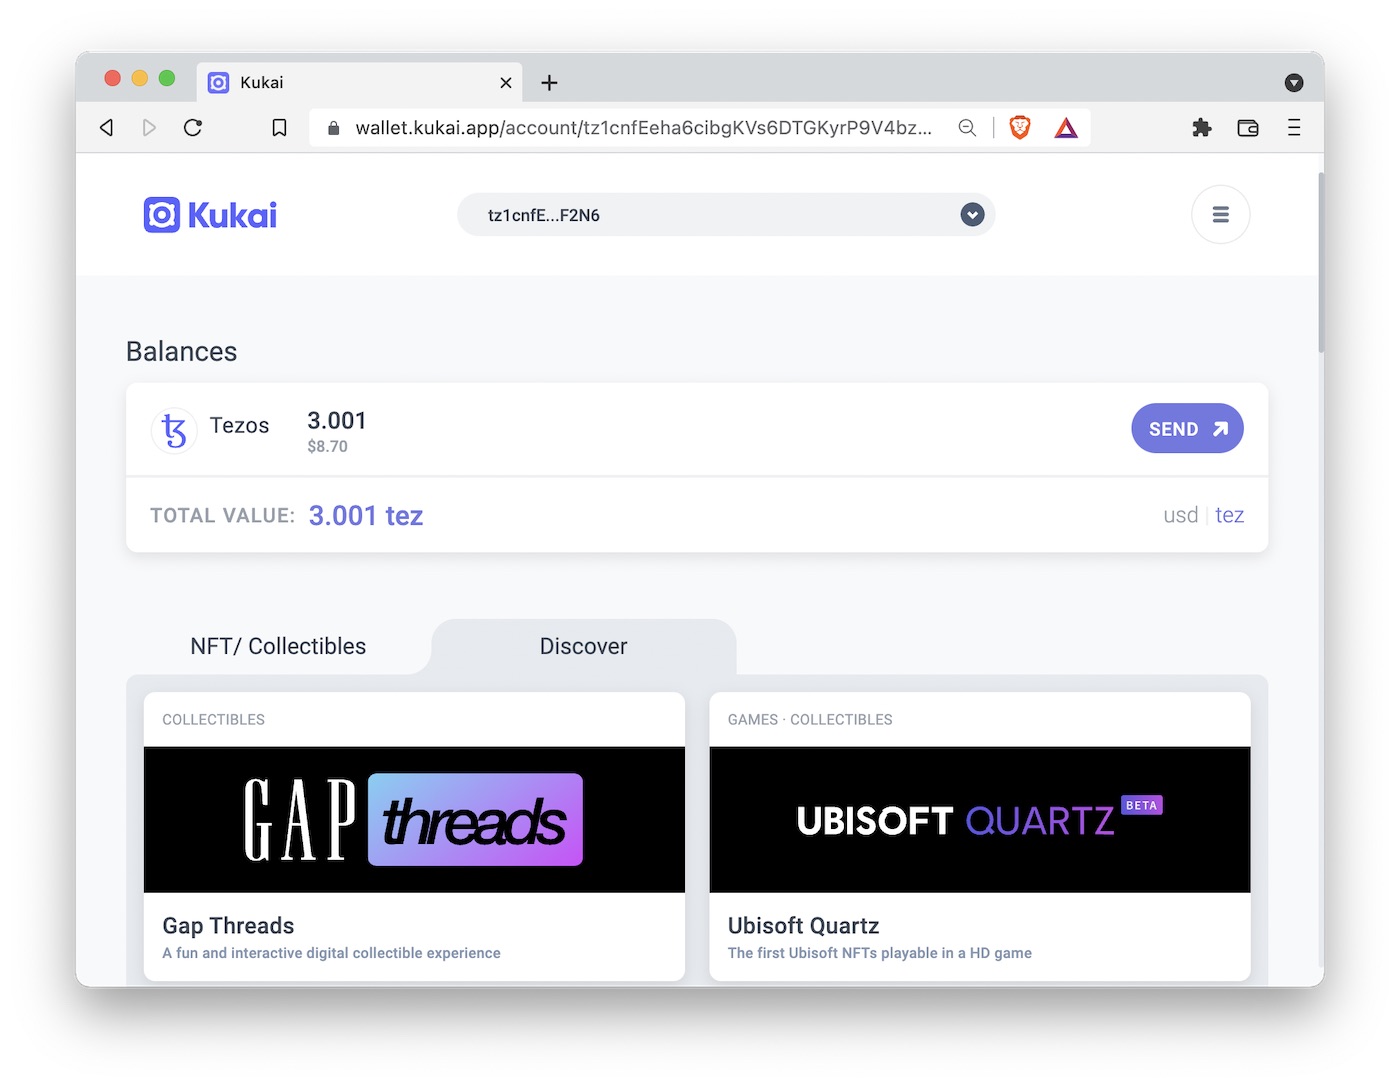
Funding the wallet
Now that you have created a wallet, you’ll need to fund it with some tez (the currency on the Tezos blockchain). This is honestly the most complicated part for any newcomer, as it requires an interaction between the blockchain world and the regular world. If you have a friend who is active on Tezos, you could ask them if they’re willing to gift you some. Alternatively, you’ll have to sign up with a cryptocurrency exchange such as Coinbase, Gemini, or Kraken, buy tez on the exchange (it will be listed as XTZ), and then withdraw to your wallet address. All of this is pretty straightforward if you already have a Coinbase, Gemini, or Kraken account, but if you don’t then it’s an additional hurdle that you must scale.
I am not going to make any recommendation about which crypto exchange to use. The ones I have listed here, Coinbase, Gemini, and Kraken, are all reputable exchanges. You can’t go wrong with either of them. You should check whether they are available in your region, though. For example, people living in New York are famously not allowed to buy tez on Coinbase, but they can do so on Gemini.
You will need maybe 3 to 4 tez to buy some NFTs and make some transactions. As of this writing, 1 tez is worth about $3, comparable to the price of a coffee at Starbucks. So you’ll have to invest the equivalent of a few coffees to experiment with blockchain technology and NFTs.
Once you have bought some tez on an exchange, you can send it to your wallet address. This feature may be called “withdraw to crypto address” or “send to crypto address” or similar, depending on which exchange you use. But be aware that you may have to wait a few days from when you buy the tez to when you can send it to your wallet, because the exchange has to make sure they actually have the fiat funds (USD, EUR, GBP, etc.) that you sent them. The requirement to wait for funds to settle is an aspect of the traditional banking system that will seem increasingly arcane the more time you spend in crypto. Crypto transactions have instant finality. The moment you have some funds in your wallet you can spend them right away.
The downside of instant finality is there is no fixing mistakes. If you send funds to the wrong address, they are gone. So always carefully verify your crypto addresses before sending funds. In fact, before making any non-trivial transactions, I will typically send a test transaction first, e.g. 0.001 tez, verify I can see the funds in my wallet, and then send the main amount. You can see my very first transaction to the wallet I created for this post here.
Minting an NFT on fx(hash)
Now that we have a wallet and have some tez in it, let’s go ahead and do something interesting. The first thing we will do is mint a generative artwork NFT. This is a uniquely web3 experience, so it’s an excellent starting point. Specifically, what we mean by “mint a generative artwork” is we will buy a piece of generative art from an artist, but the art will not exist before our purchase. The act of purchasing the art creates a random string of letters and numbers (called a hash), and this hash is then transformed into art by the computer code the generative artist has published on the blockchain. In this way, the final artwork is a collaboration between the artist and the collector minting the NFT. The artist provides the deterministic part of the art—the algorithm that turns a specific hash into a specific artwork—and the collector provides the random part—the hash generated during the minting process. Because transaction hashes are unique, the artwork is permanently and verifiably linked to the transaction that created it and hence to the wallet that was used in the mint.
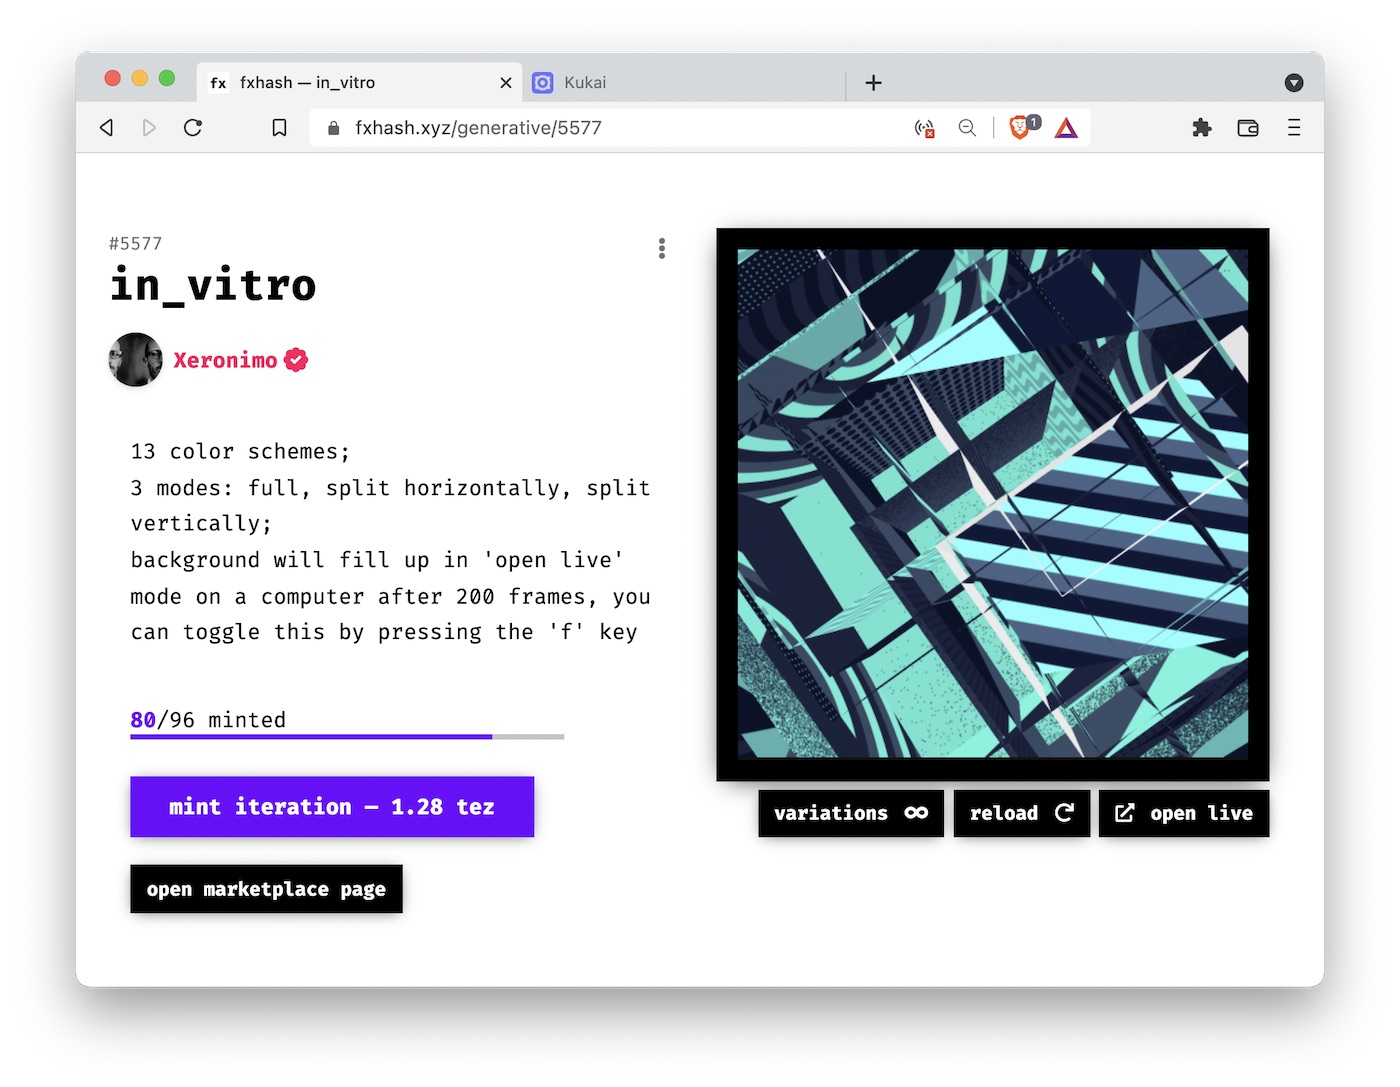
The site we will be using to mint the art is called fx(hash). It is a marketplace where generative artists can upload their crypto art and collectors can go and mint or trade this art. There are thousands of different collections available on this site, ranging from extremely low quality to some of the best generative art currently being created. It can be a bit overwhelming at first, and difficult to figure out what is quality work and what is not. But for the purpose of just learning how the technology works, it almost doesn’t matter. You can just mint any artwork that you like. At the beginning, I would recommend to not spend much more than 1-2 tez per piece. Once you start figuring out the space, and you enjoy collecting, you can get more adventurous and buy more expensive pieces. The most expensive artwork I have bought to date cost me 176 tez.
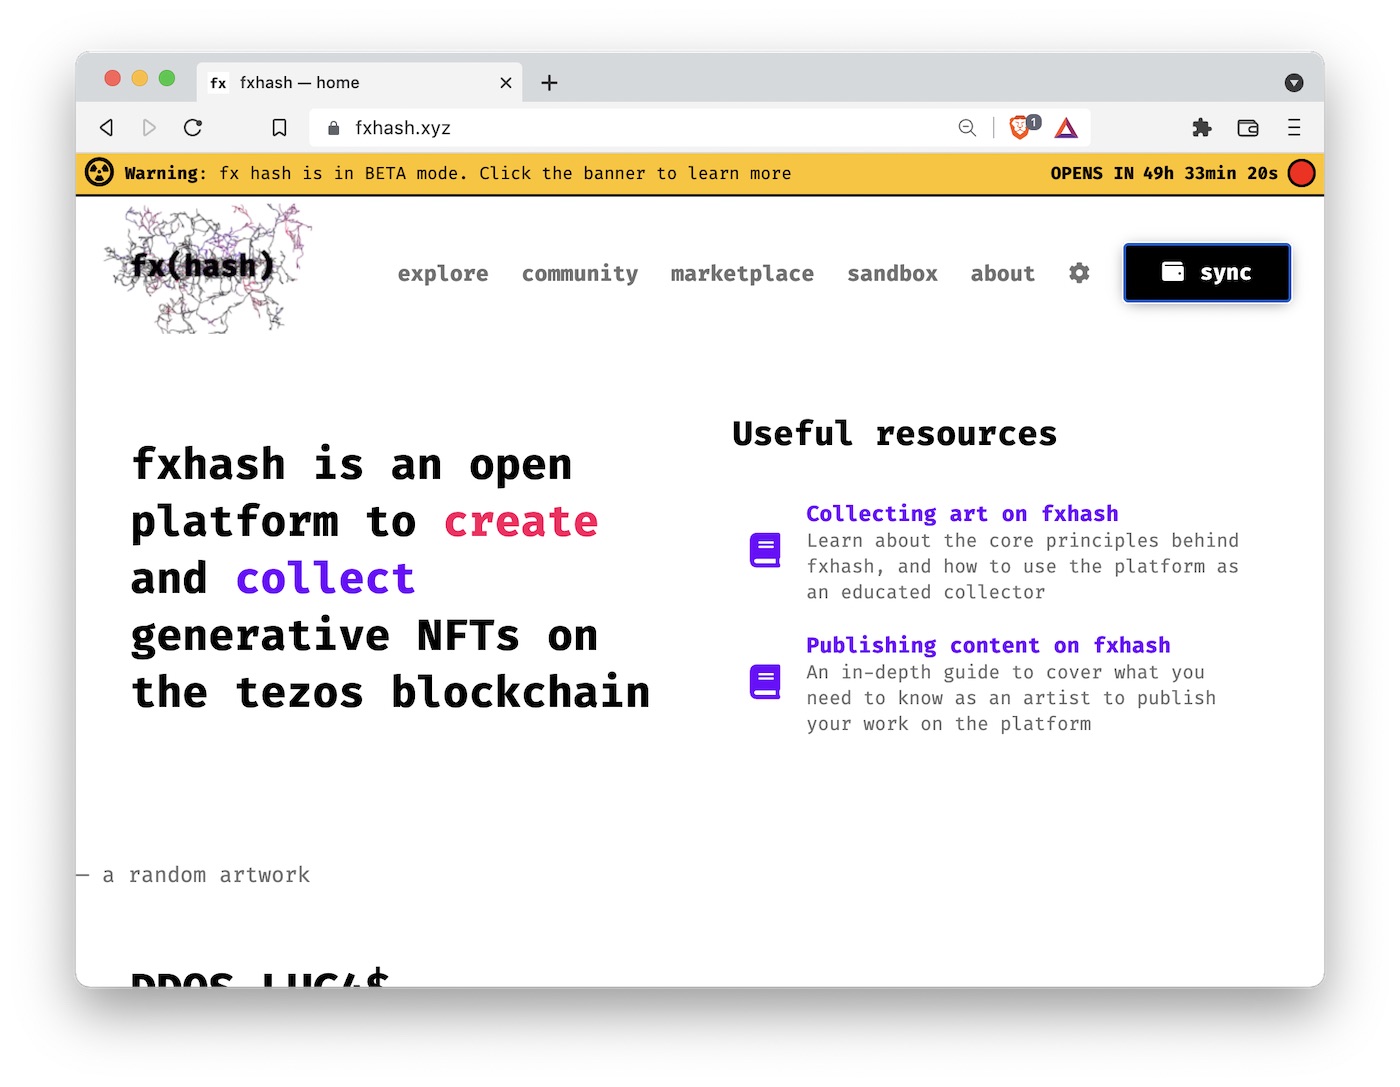
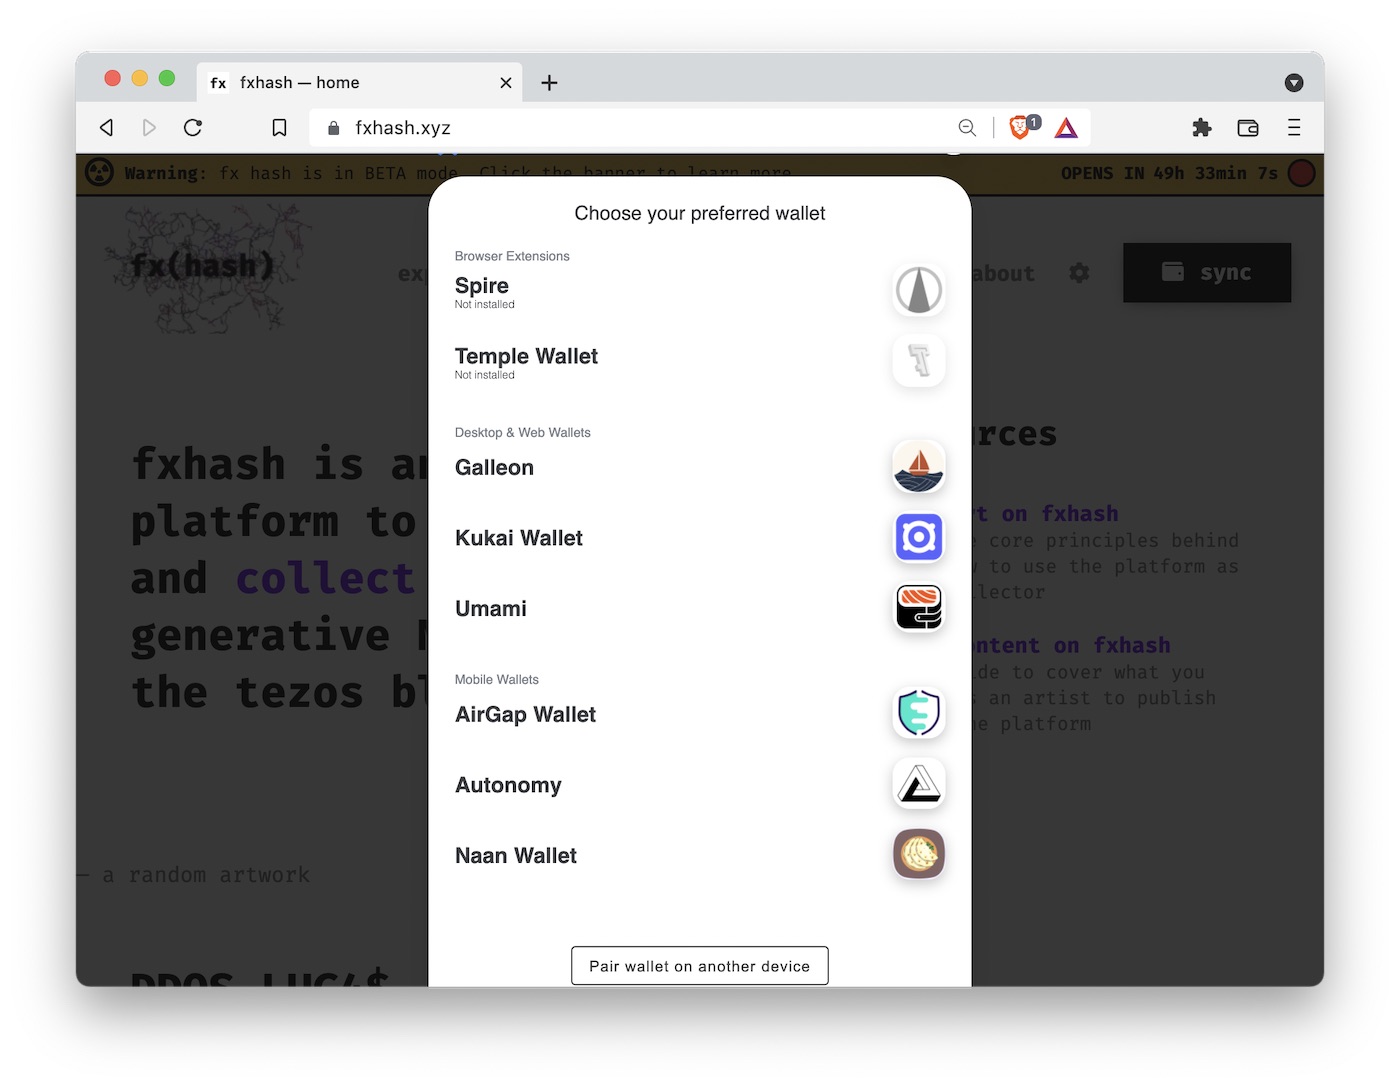
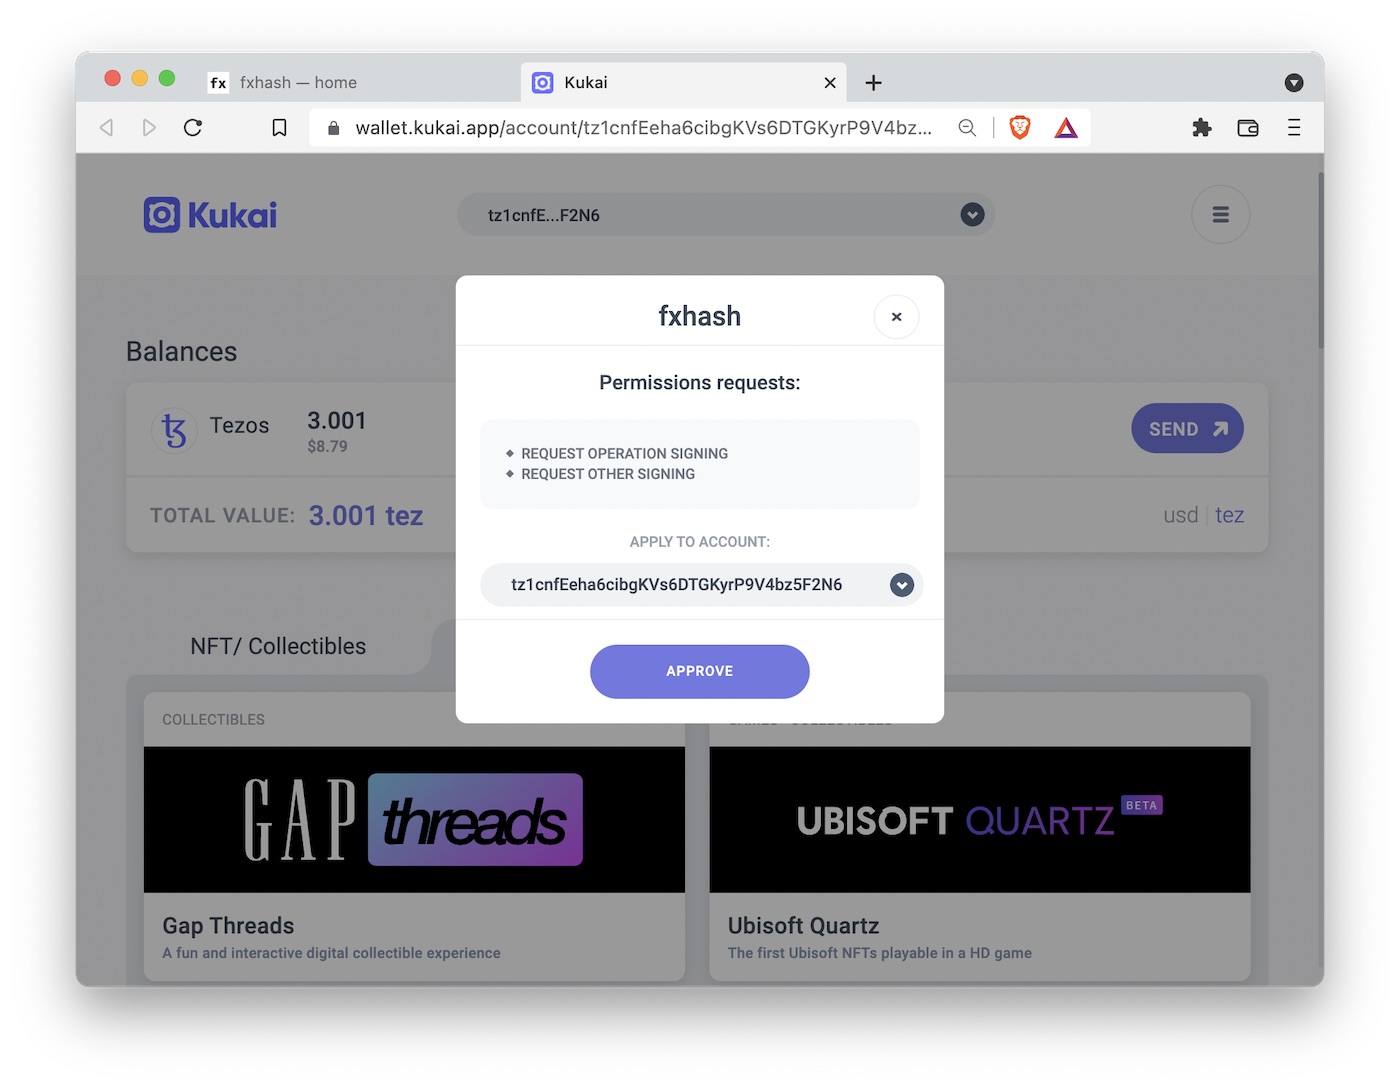
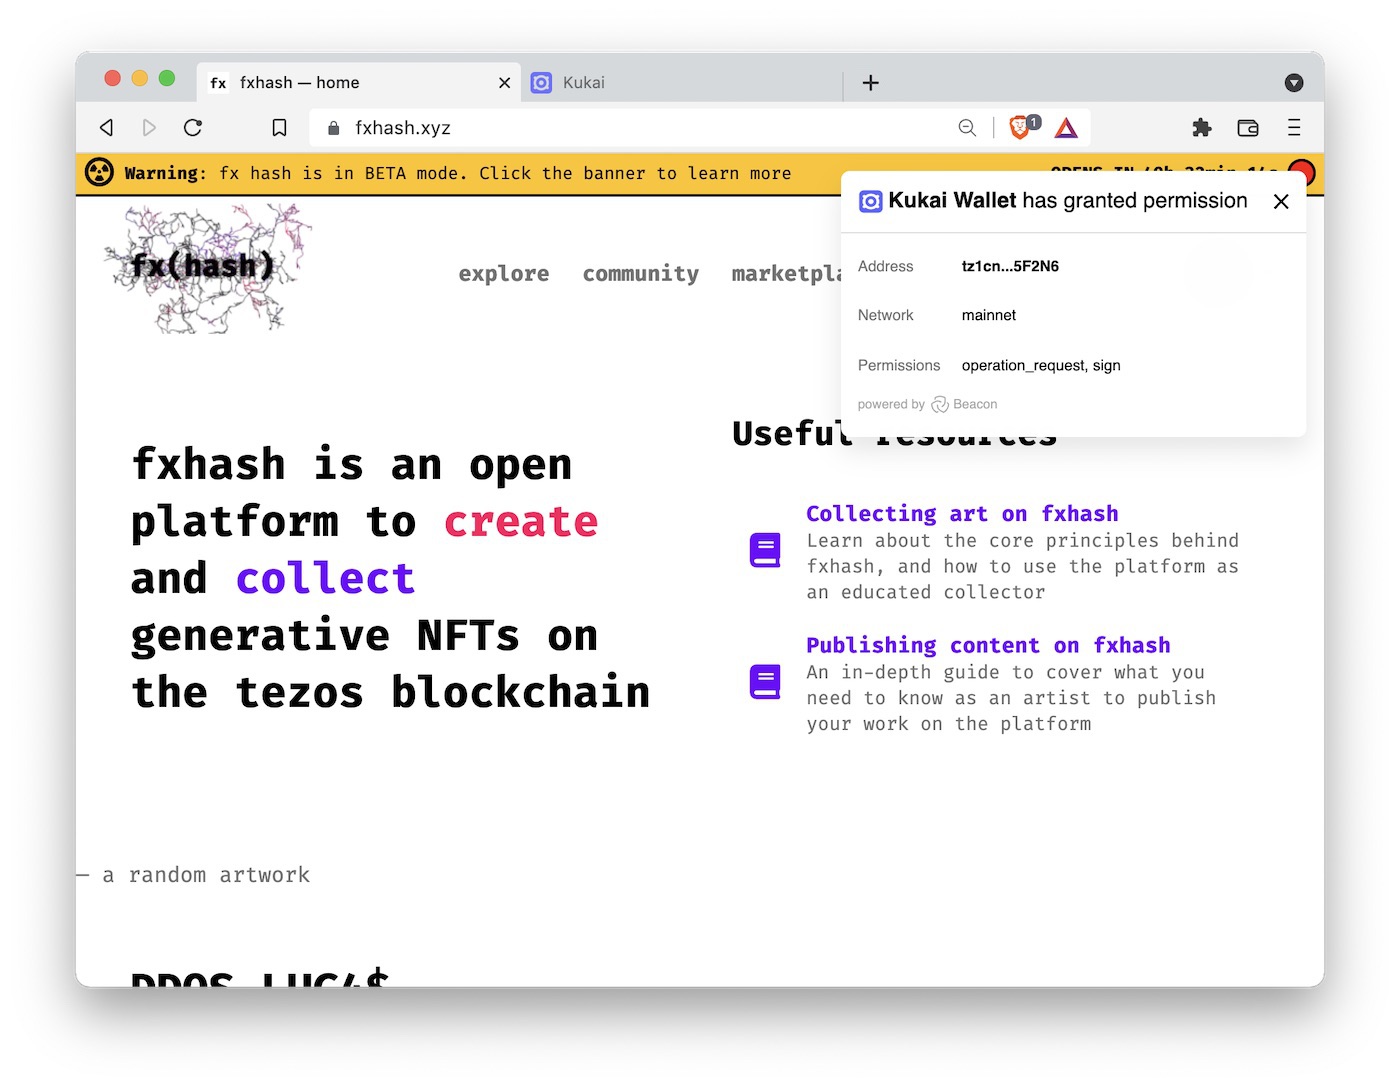
To mint a piece, you first have to “log in” to the site. I put “log in” in quotes because we don’t log in to web3 sites. Instead, we connect our wallet. You do this by clicking on “sync” on the fx(hash) site and then verifying the transaction in your wallet. Remember, the wallet is your identity. Anything you do on web3 always has to be confirmed by your wallet. It may seem cumbersome initially, but once you get the hang of it it’s quite straightforward.
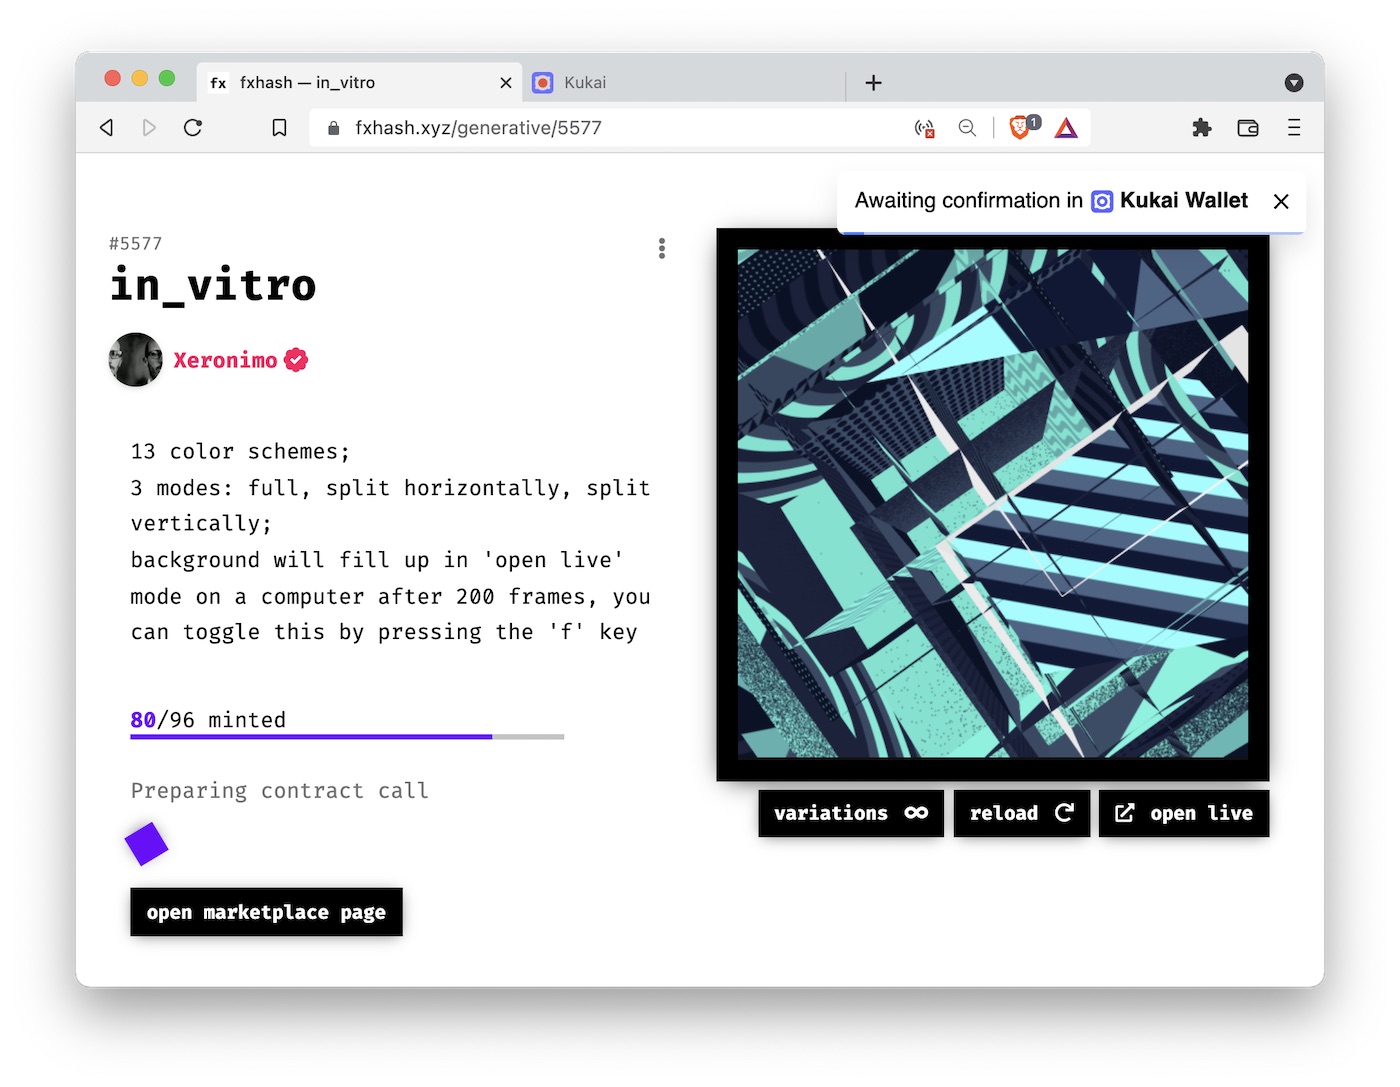
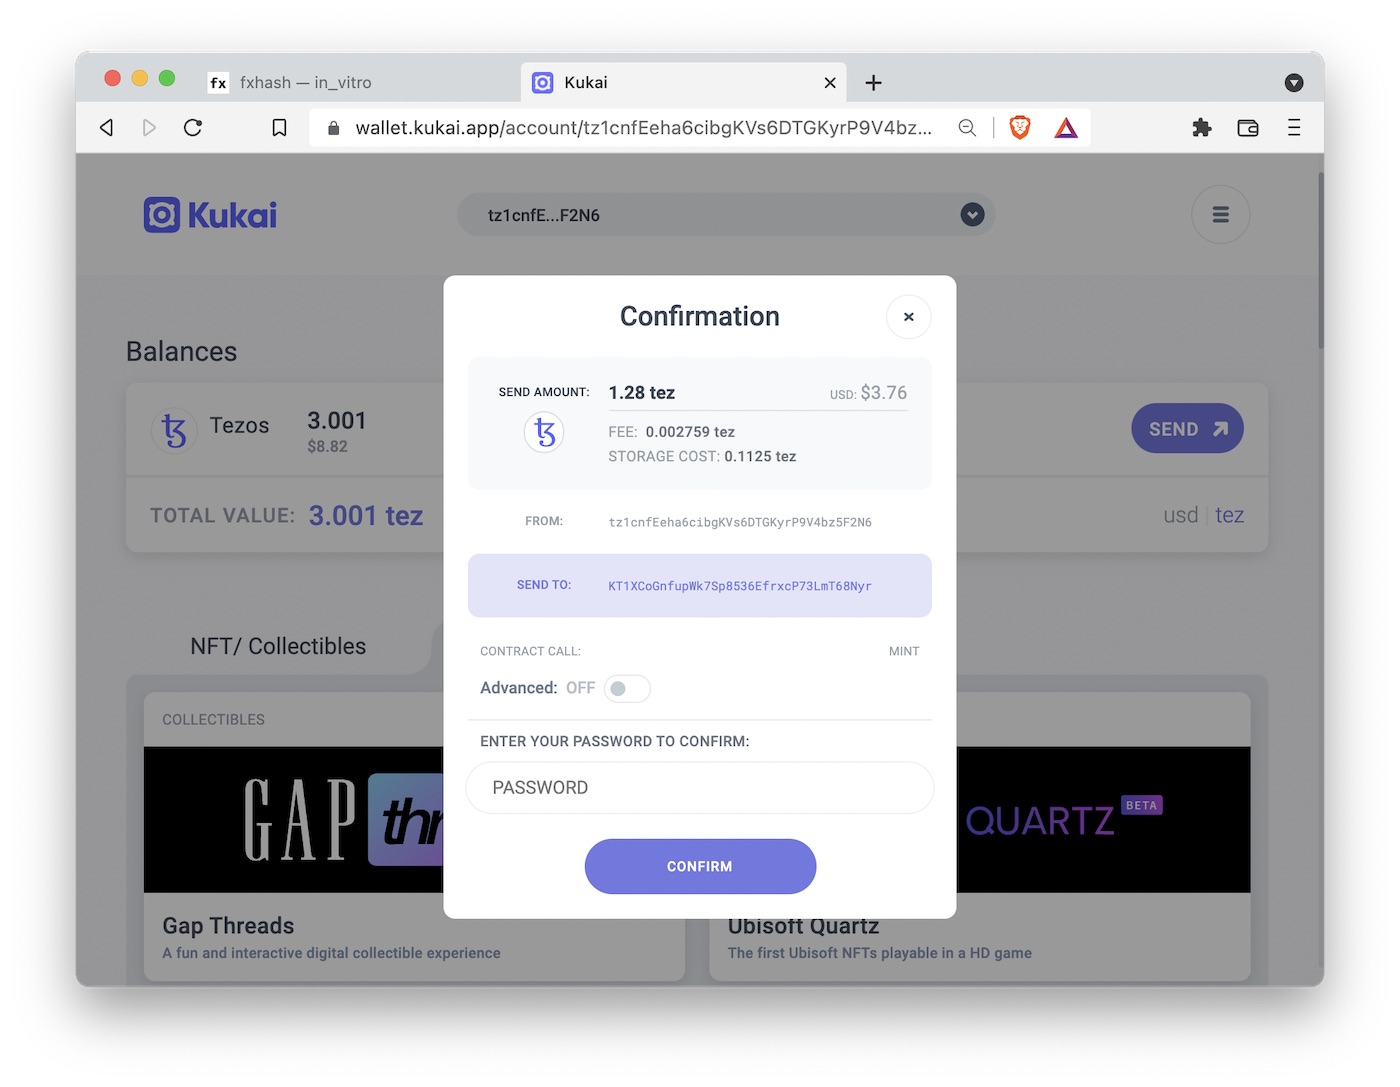
Next, we need to find a piece to mint. For this post, I chose to mint a piece of the series “in_vitro” by Jerome Herr. It’s 1.28 tez per piece, so it fits our budget. Jerome Herr is a well known generative artist who regularly publishes on fx(hash). To mint, you navigate to the page of the generative token and press the mint button. The fx(hash) site is very young and under heavy development, so things will likely look somewhat different when you read this compared to my screenshots, but the concepts will remain the same. After you press the mint button, fx(hash) will send a request to your wallet to confirm the transaction. After you confirm, fx(hash) will update and reveal the artwork you just minted. This can take some time, though (up to a minute), as the transaction needs to be confirmed on the blockchain. The Tezos blockchain creates a new block every 30 seconds, so most transaction get confirmed within that time frame.

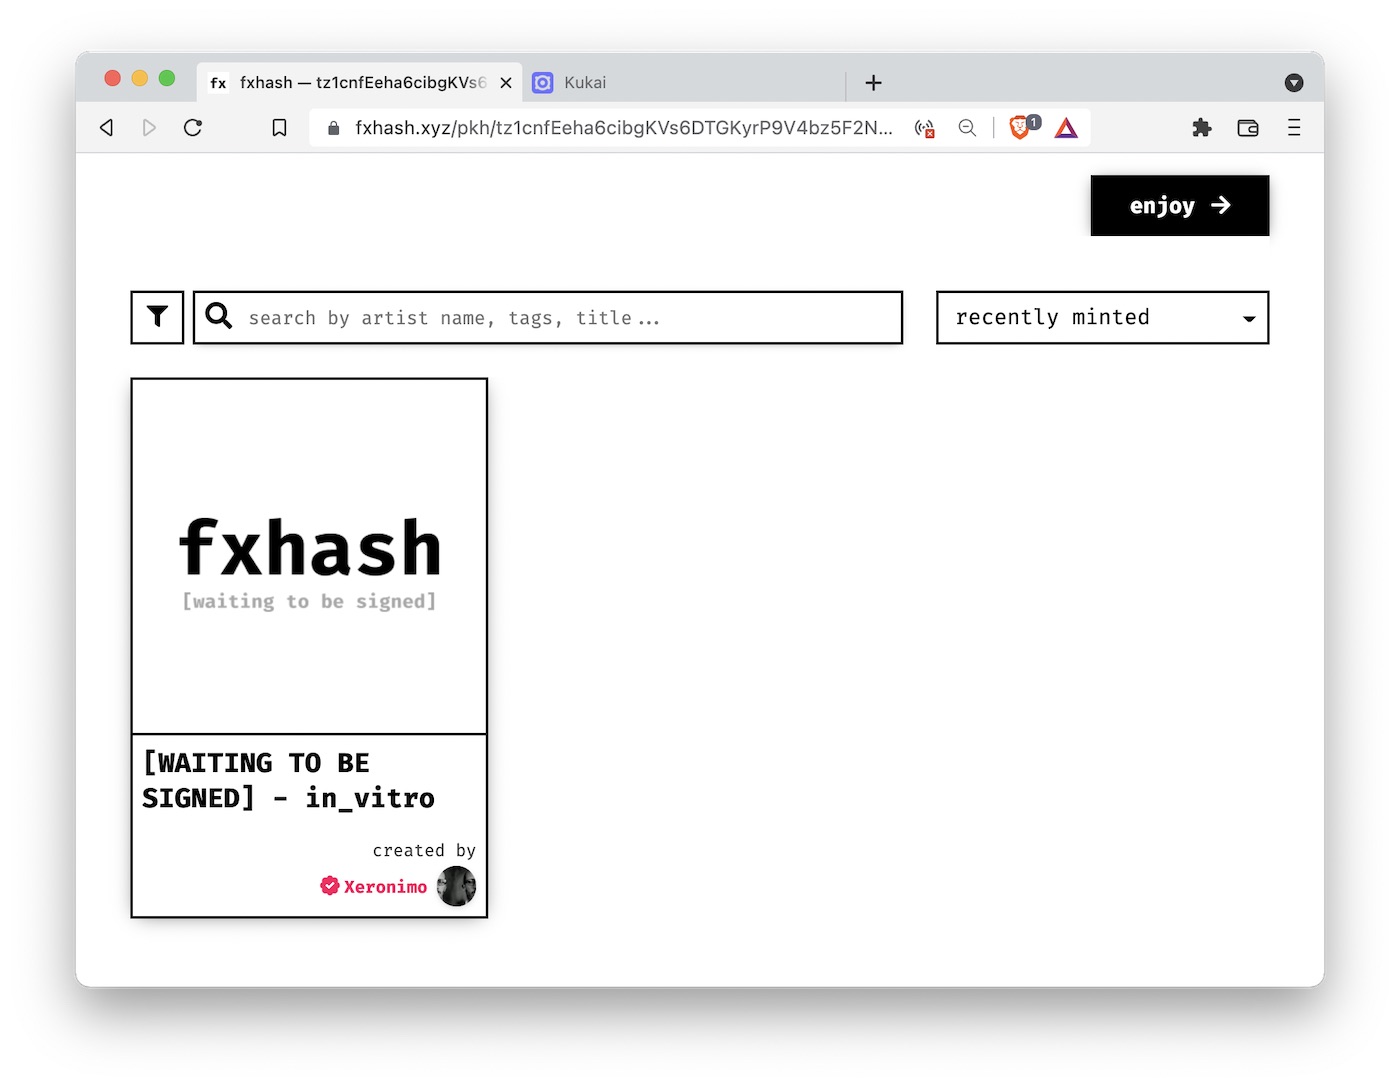
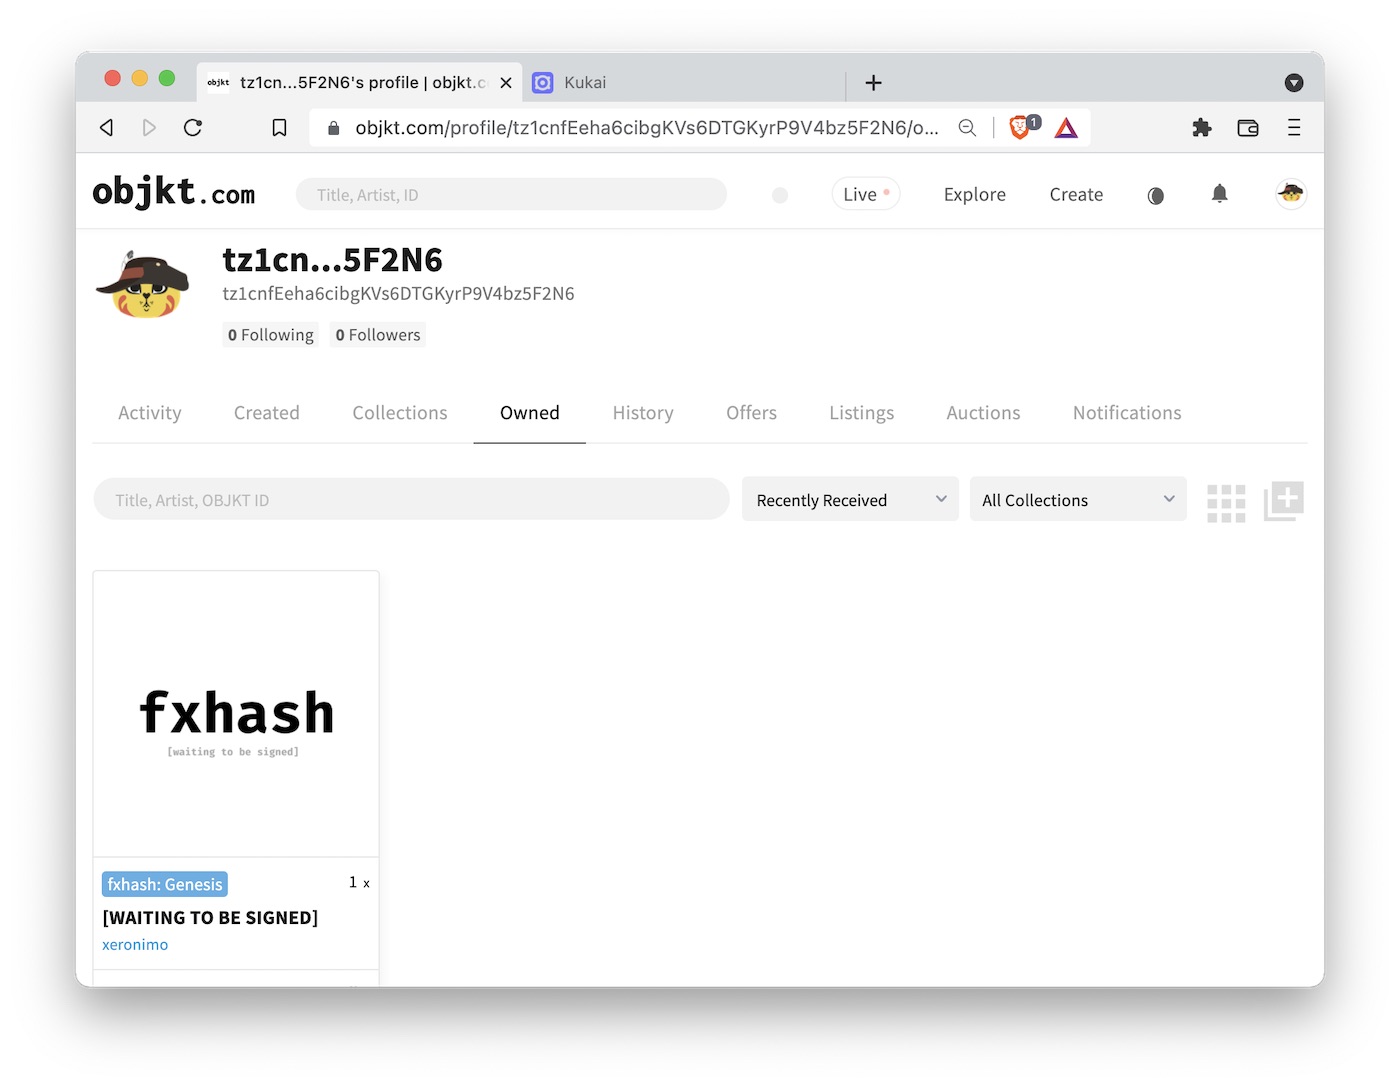
Once the mint has been confirmed, you can find the artwork in your collection tab on fx(hash). Now, when you head over there right away, you may discover that instead of the artwork there’s a placeholder that says [WAITING TO BE SIGNED]. This is perfectly normal, as there’s a signing step after the mint that fx(hash) needs to perform and that sometimes takes a while. It should only take a few minutes under normal circumstances, but the queue can get backed up and then things are delayed. In fact, when I worked on this post there was a major problem with signing, and it took three days for my artwork to show up properly in my collection. So if there’s a bit of a delay, don’t worry, the artwork will eventually be signed.
You can see the final signed NFT I minted here.
Buying on the secondary market on objkt.com
Next, we will buy an NFT on secondary. Secondary means we will buy the NFT from somebody who has previously bought it from the artist. You may feel awkward about buying on secondary but it’s totally Ok. You are supporting the artist by buying on secondary. First, artists benefit indirectly, as strong secondary sales help them with their future primary sales. Collectors will be more willing to buy from an artist who has demonstrated good resale value. Second, artists benefit directly, as they usually receive royalty payments somewhere in the range of 10-20% for every secondary sale. Royalty payments are processed automatically by the blockchain, through a mechanism called a “smart contract,” and neither you as the buyer nor the seller have to do anything about it. It just happens automatically. Successful crypto artists often make more income from secondary sales than from primary sales. The famous series “Garden, Monoliths” by zancan generated 4.6K tez in primary sales and as of this writing 192.3K tez in secondary sales, of which the artist received 15%. You do the math.
The site fx(hash) has a strong secondary market, and if you want to buy NFTs that were originally minted on fx(hash) you should definitely look there first. However, we will use a different site, objkt.com, which is a generic NFT marketplace on Tezos. It collects NFTs from many different sites, including fx(hash), hic et nunc (HEN), Kalamint, and several others. It is a great place to go to and find the entire range of NFT activity of an artist on Tezos.
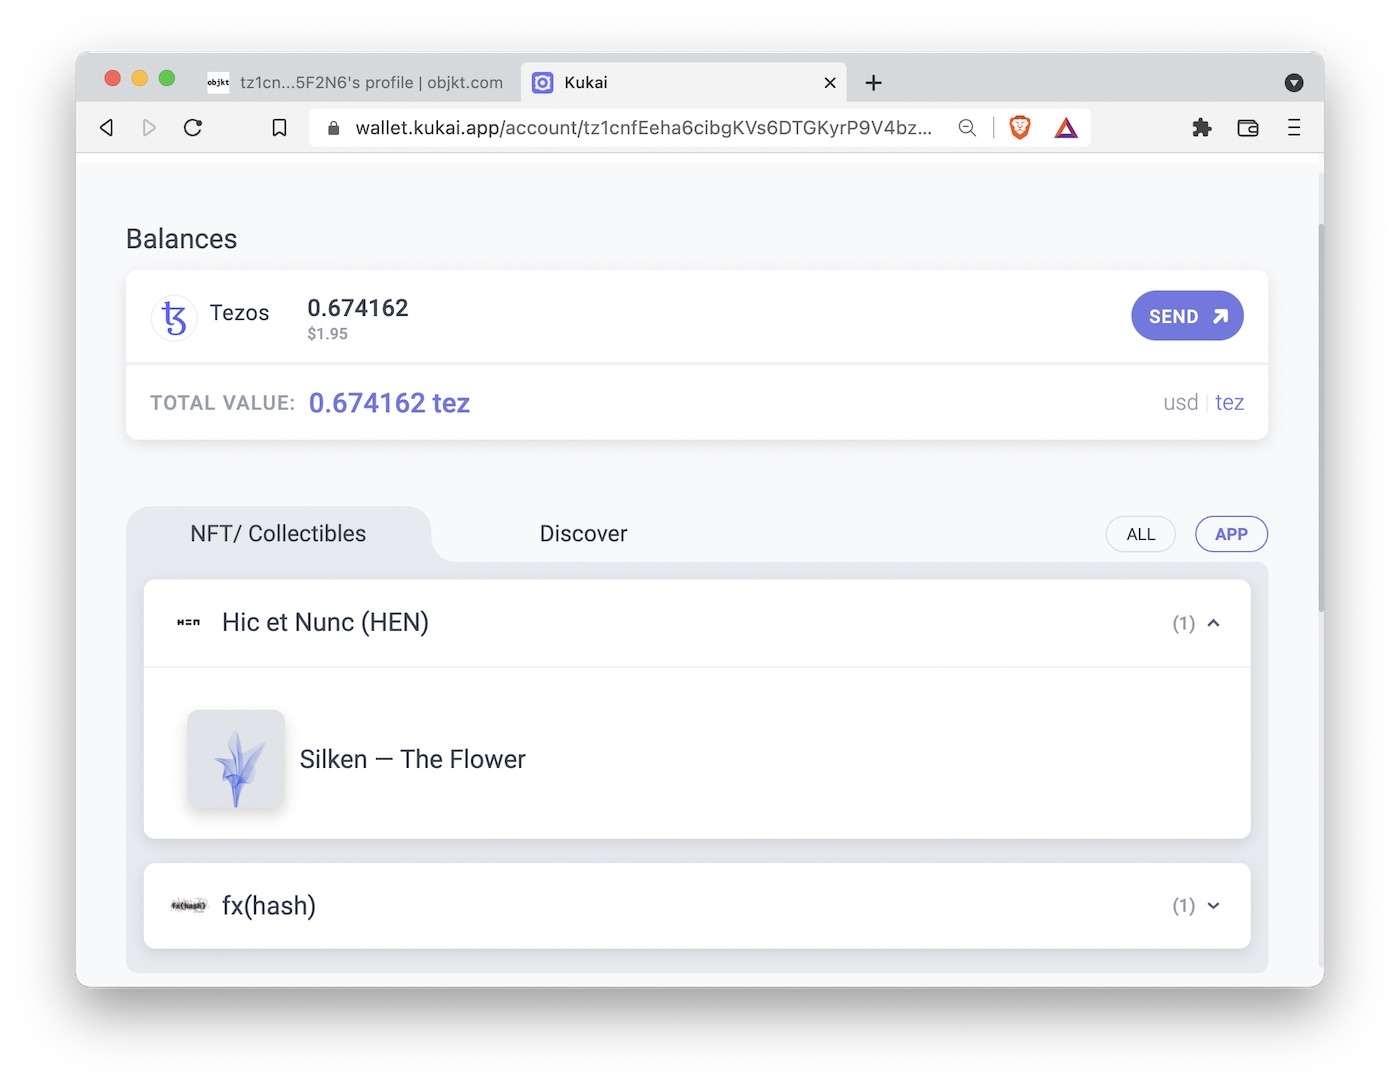
When you go to objkt.com, you again have to first sync your wallet. Once you have done that, I would encourage you to go to your “Owned” tab to see all the NFTs that you own. You will see that any NFTs you have minted on fx(hash) show up here. Again, this is the case because your ownership of the NFT is recorded on the Tezos blockchain, not by the sites such as fx(hash) or objkt.com, and thus NFTs you have minted on one site can show up on another site.
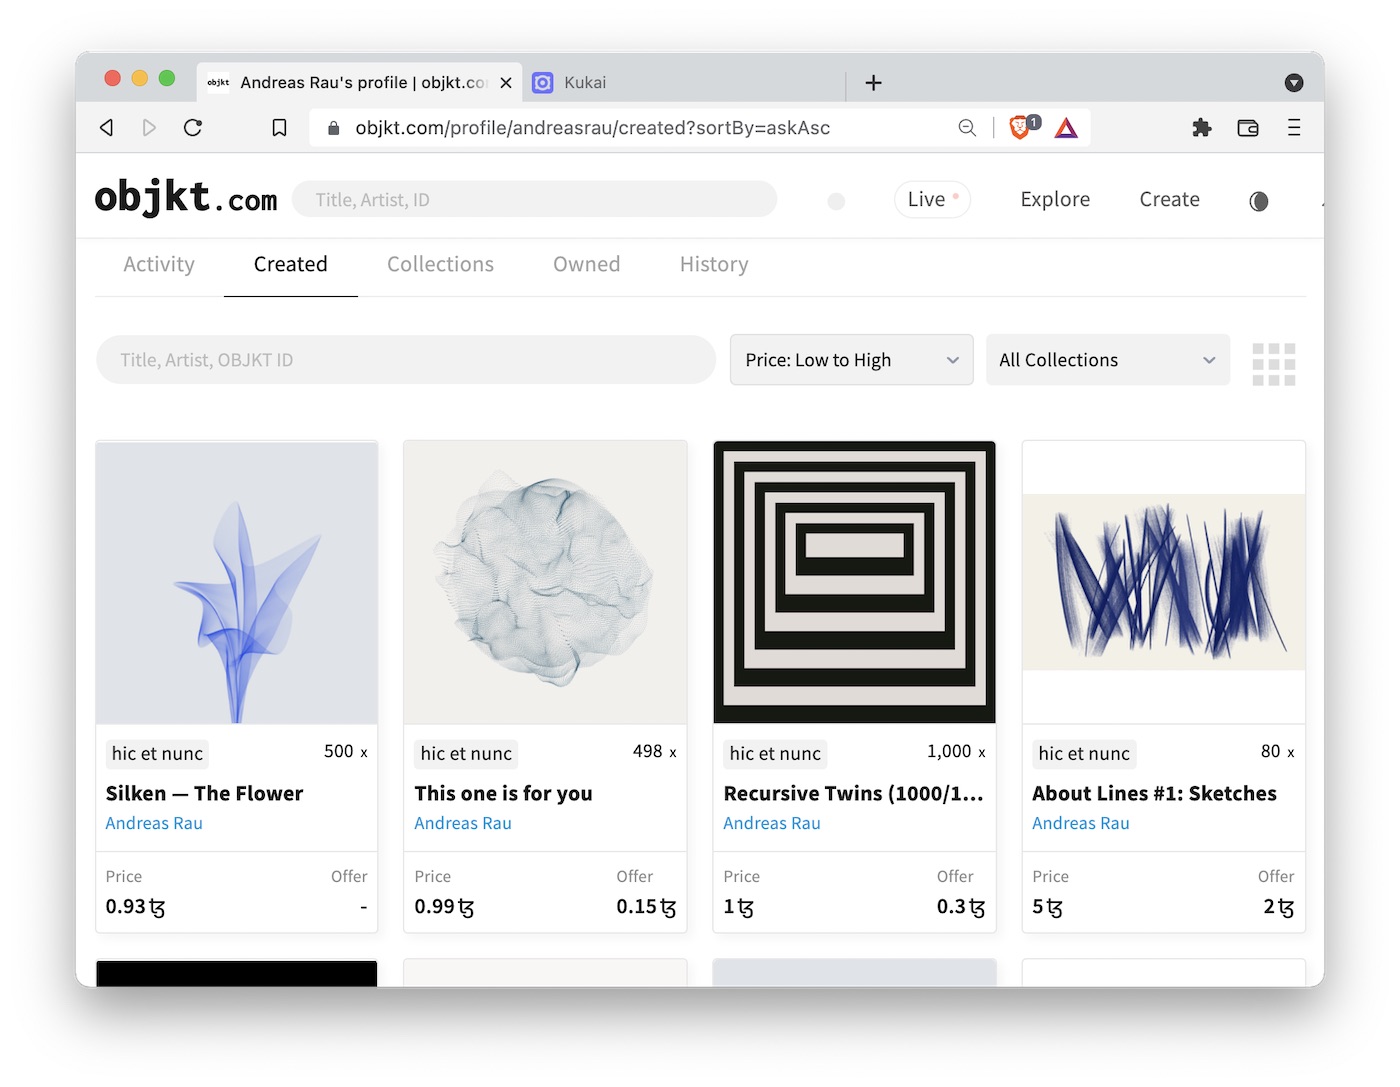
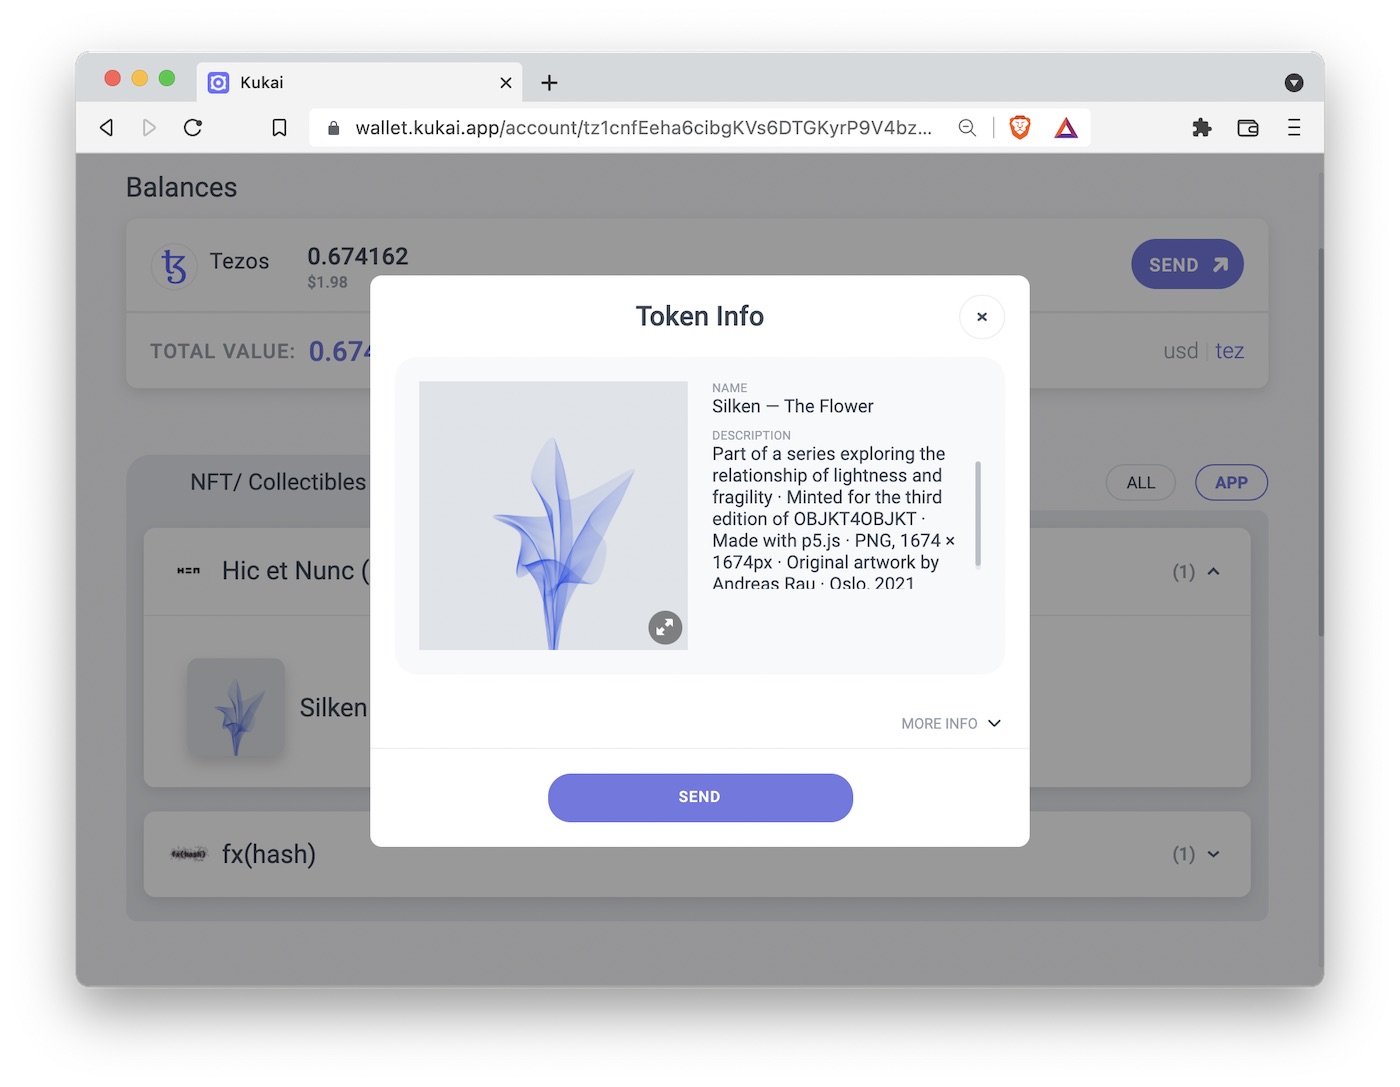
Next, let’s find an NFT to buy. We will look at the work of Andreas Rau. He is a very popular generative artist who routinely sells artworks for hundreds of tez. But that doesn’t mean we can’t find something cheaper. In particular, it’s not uncommon for artists to mint NFTs in multiple editions (say, 500 editions all representing the same artwork), and those multiple edition NFTs tend to sell at a much lower price. To find these kinds of opportunities, I like to sort by price from low to high on objkt.com. We can see that there are a few multi-edition pieces by Andreas Rau for around 1 tez. Specifically, I like “Silken — The Flower” (500 edition) for 0.93 tez. So let’s buy it. We need to click on the “buy” button, and then confirm in the wallet as before, and then after some waiting time of maybe a minute or so the artwork will appear in the “owned” section of our objkt.com profile.
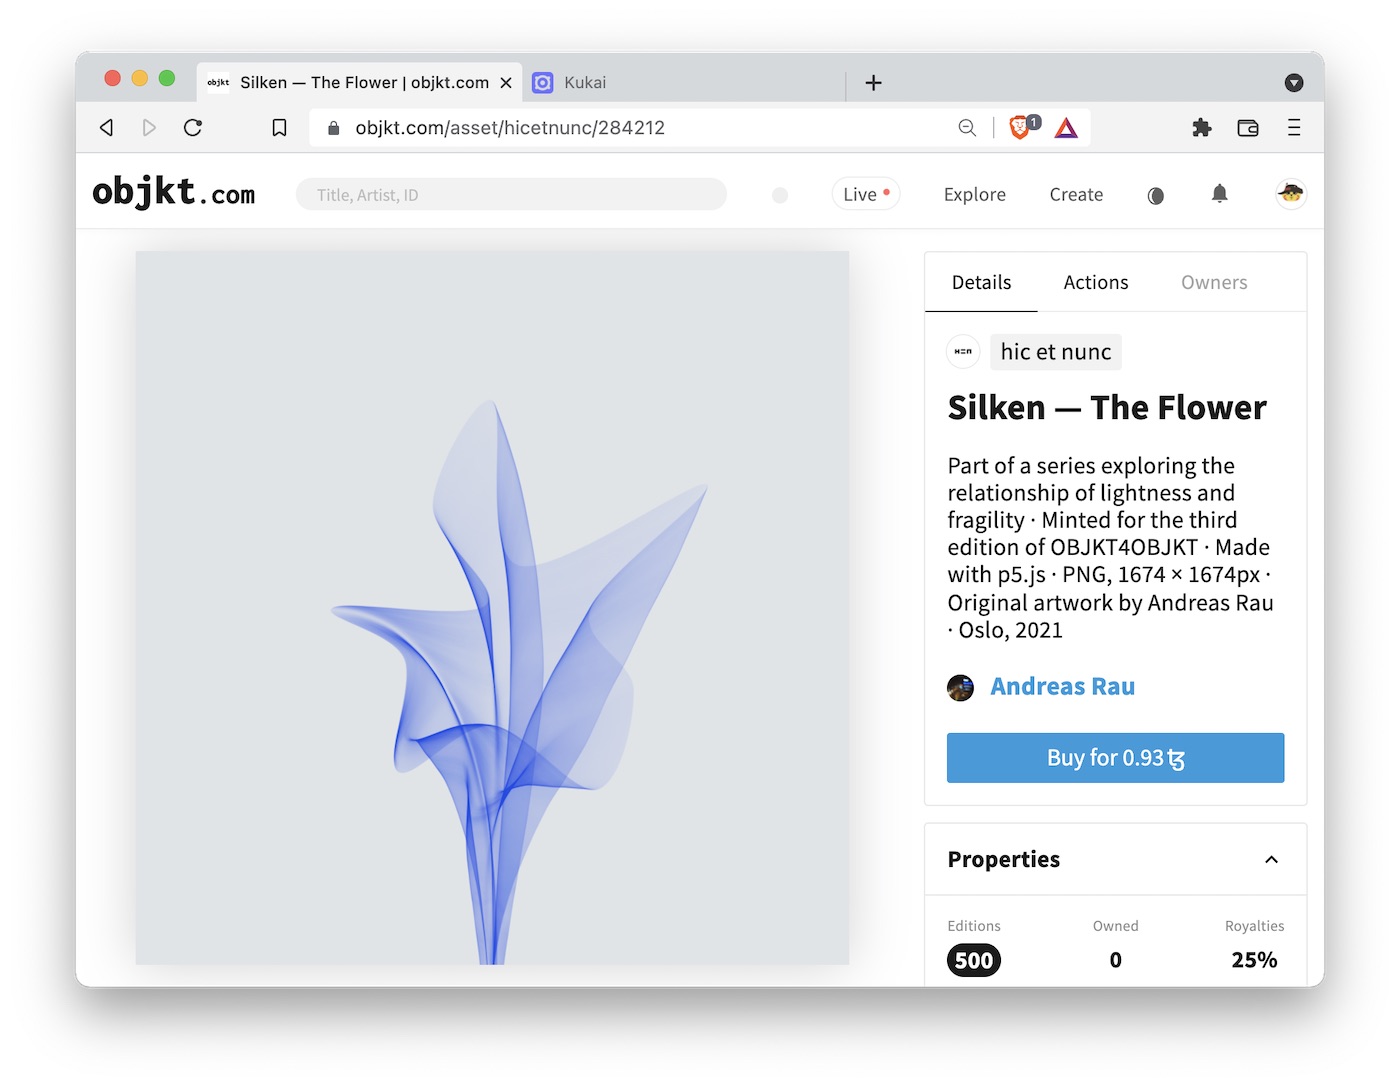
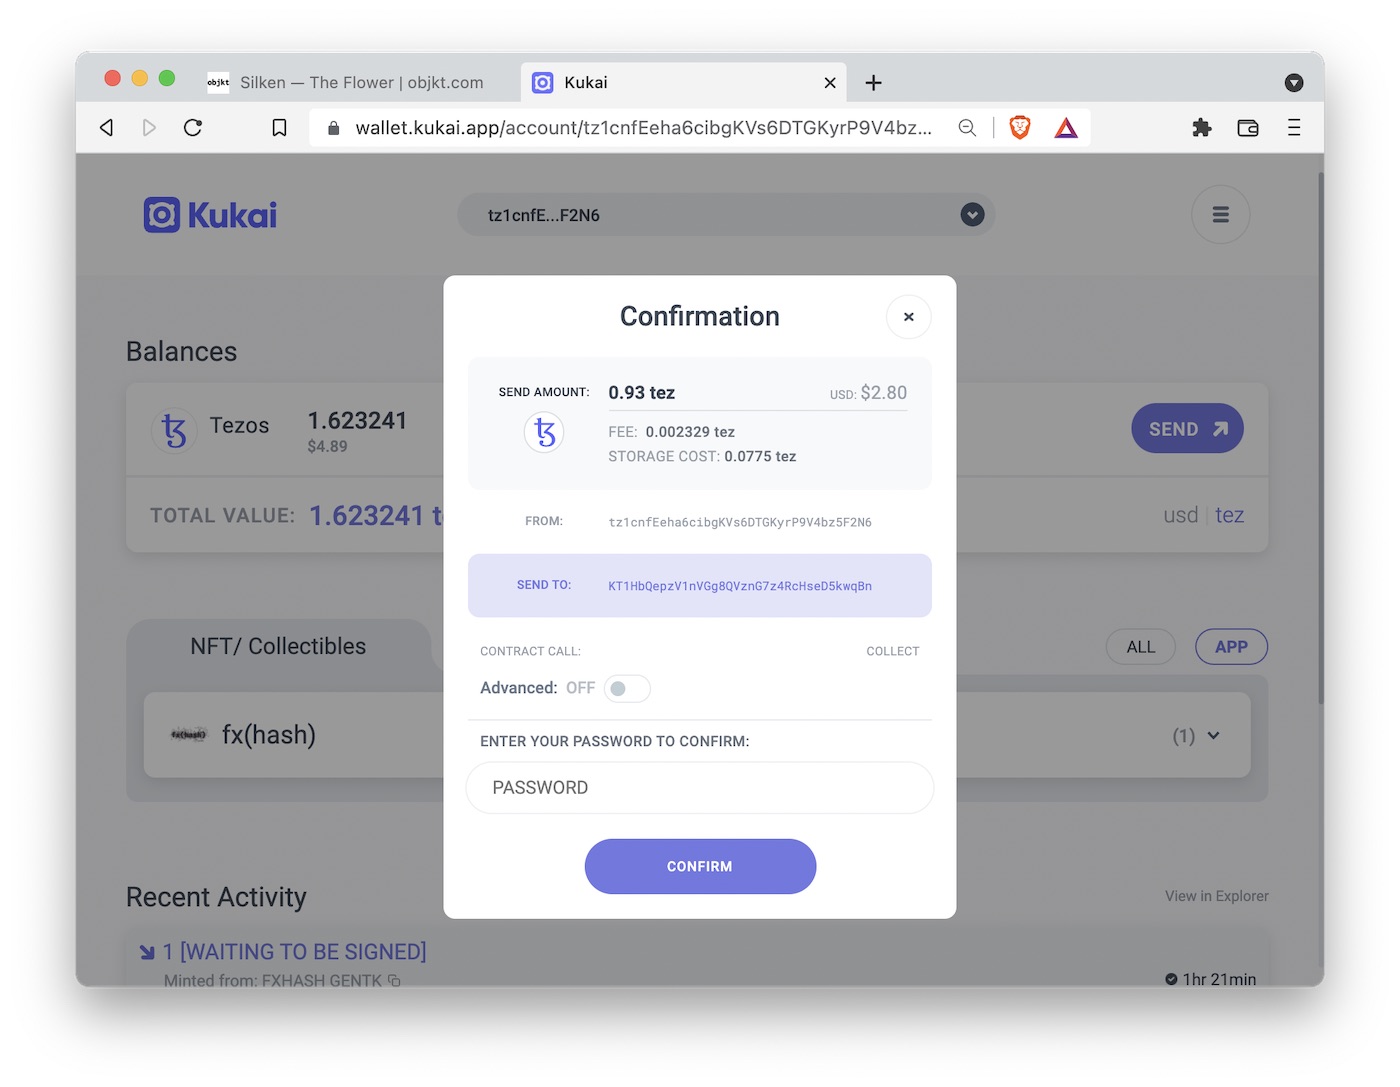
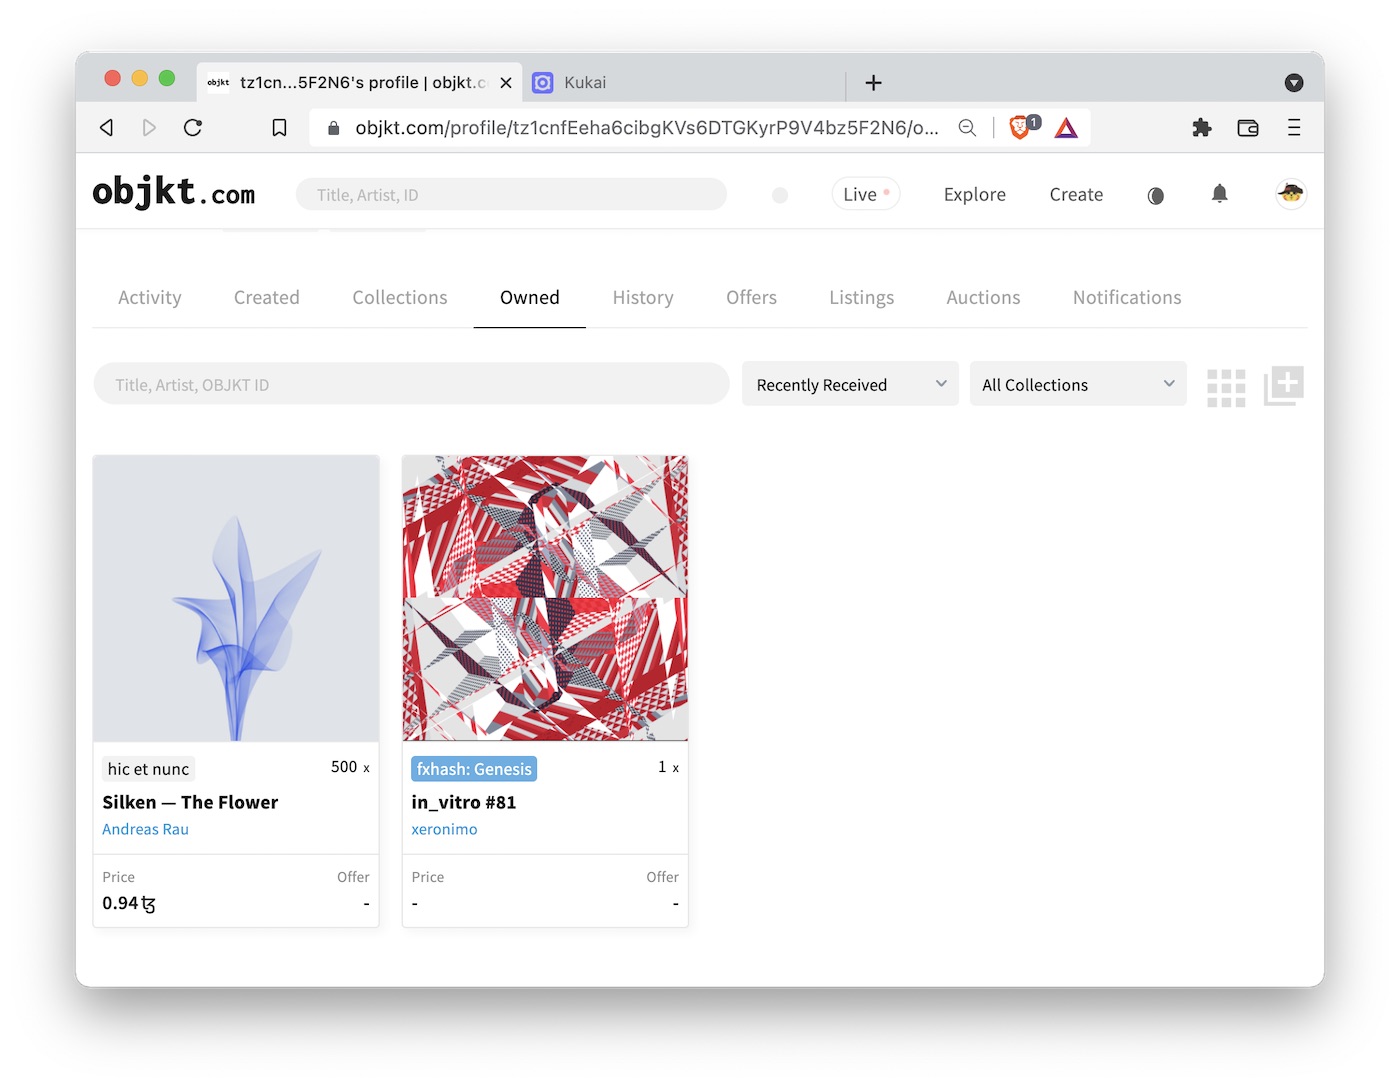
In the screenshot above, you may notice that “Silken—The Flower” is shown with a price of 0.94 tez. This is the case because I bought the cheapest one available, at 0.93 tez, and subsequently the next cheaper one was available for 0.94 tez. By contrast, in_vitro #81 is not for sale, because I did not put it up for sale, and therefore it is shown without a price.
Sending tokens and inspecting the blockchain
Now that we’ve bought some art, let’s discuss how we can send it to somebody else, maybe as a gift. I made a wallet specifically for this post, so I’m going to send the art I bought (and my remaining tez) back to my main wallet.
The process is very simple. We go to our wallet, select the NFT we want to send, and press “send”. Next, we have to enter the number of copies we want to send (this will typically be 1) and the address we want to send it to. My address is clauswilke.tez, which is a Tezos domain that points to tz1XTr7d3FZ19KndZ1HX3iav8fqKeZwGx8bZ. I’m sure you’ll agree it’s much simpler to type clauswilke.tez than tz1XTr7d3FZ19KndZ1HX3iav8fqKeZwGx8bZ, so that’s convenient, but I could have entered tz1XTr7d3FZ19KndZ1HX3iav8fqKeZwGx8bZ just the same. Then I click on “preview”, review that everything is correct, enter my password, and send. And after a minute or so, the transfer is confirmed on the blockchain and the token shows up in my main wallet.

You can see the entirety of all transactions I made with the wallet I created for this post on the block explorer. Just to reiterate one more time: All transactions on a blockchain are public, they are visible to everybody, and they are stored permanently. The blockchain never forgets.
(As an aside: If you want your own Tezos domain, you can buy one at https://tezos.domains/. They are sold as NFTs and they cost 1 tez per year. You can see the NFT that represents my domain here.)
Conclusions
This concludes my crash course in how to use the Tezos blockchain. We have only scratched the surface, but the material presented should be enough to get you going. All of this may seem terribly complicated and confusing, but that’s why I think it’s so important to play around with this technology and figure out how it works. Once you have a wallet set up and loaded with some tez, the day-to-day activity of buying and selling NFTs becomes rather straightforward.
Also, I said earlier in this post that it doesn’t matter which art you collect if you’re only here to try out how the technology works. This is correct, but if you want to go deeper, let me point you to some artists who are respected in the community and active on fx(hash). I have already mentioned Jerome Herr and Andreas Rau. As a beginner, it’s probably best to start collecting artists that release art in the 1 to 3 tez range and whose collections don’t sell out in minutes. Jerome Herr falls into this category. Other artists in this category are Chris Randall, Johan Karlsson, or George Savva. Reinder Nijhoff has one collection that is still available to mint at 1 tez, Singularity.
Artists that may be outside of your price range, but that are worth a closer look, include Gerard Ferrandez (ge1doot), Aleksandra Jovanić, Orr Kislev, Mark Knol, Yi-Wen Lin, M. J. Lindow, Lisa Orth, Camille Roux, Waxhead, or zancan.
This list is entirely subjective and I’ll certainly have left out exciting artists whose work may speak to you. One good way to find interesting art is to look at what works the various artists are collecting. Almost all NFT artists are also NFT collectors, and you can see their collections in their wallets on fx(hash) or objkt.com.
Let me also point you to some artists who are active on Tezos but are not currently on fx(hash): Nadieh Bremer, Culla, Mario Klingemann, Danielle Navarro, Thomas Lin Pedersen. And, if you want, you can also check out my own work, for example my series Incomplete Convergence on fx(hash).
P.S.: For a more advanced, in-depth guide to fx(hash), see here.